How to back up a WordPress website to remote cloud storage from the Linux command line
Last updated on June 25, 2020 by Dan Nanni
Building a website with beautiful design and killer content is a huge undertaking. Compared to the time, money and effort put into crafting a website, people however tend to pay surprisingly little attention to "backing up" the website they have built. It is no-brainer to understand that without a proper backup, you stand to lose months or years of investments in your website should something bad happen to the website, be it accidental deletion of files, faulty software/database upgrade, website defacement by hackers, disk/filesystem failure, etc. Especially for websites like WordPress-powered blogs which get updated often with daily postings, comments and plug-in upgrades, regular backup is something you must not be lazy about as a website owner.
There are many different ways to archive the current snapshot of a WordPress site. Some web hosting or VPS companies (e.g., DigitalOcean) offer automatic daily backup service for an extra fee. Many web-based hosting control panels (e.g., cPanel, Webmin) come with a full website backup option for you to back things up interactively. There are also WordPress plugins dedicated to firing scheduled WordPress backup tasks. Even some third-party online services enable you to back up and version-control a WordPress deployment off-site and restore any previous snapshot at your command.
Yet another WordPress backup option is Linux command line based WordPress backup. As you can imagine, this is the most flexible option, and you retain complete control over the entire backup process. This option is applicable only if your hosting provider or VPS allows SSH remote access. Assuming this applies to you, here is how you can back up your WordPress website and store it to offsite cloud storage, all from the command line.
There are two steps to WordPress backup. One is to back up a WordPress database which stores WordPress content (e.g., postings, comments). The other is to back up PHP files or design files hosted on your WordPress site. After going over these steps one by one, I will present full scripts for complete WordPress backup, so you can easily copy and paste them for your own use.
Backing up a WordPress Database
Backing up a WordPress database can easily be done from the command line with a tool called mysqldump. This command line tool comes with MySQL client package, which you can install easily if you are running a VPS. If your hosting provider provides SSH remote access, most likely MySQL client is installed on the server you are on.
The following command will dump the content of your WordPress database into a MySQL dump file called db.sql.
$ mysqldump --add-drop-table -h<db-host> -u<db-user> -p<db-password> <db-name> > db.sql
You can find <db-host>, <db-user>, <db-password> and <db-name> in wp-config.php of your WordPress installation.
The --add-drop-table option above tells mysqldump to add "DROP TABLE IF EXISTS" statement before each table creation statement in the MySQL dump file. When you import a MySQL dump into a database, if the database already has a table with the same name as the one to import, the import will fail due to duplicate table name. Thus adding "DROP TABLE IF EXISTS" statement is a precaution to prevent this potential import failure.
Note that if MySQL server is running remotely (i.e., "db-host" is not localhost), you have to make sure that the MySQL server allows remote database access. Otherwise, the mysqldump command will fail.
Backing up WordPress Files
The next step is to back up all PHP and design files hosted in your WordPress site.
First, go to the root directory (e.g., ~/public_html) of your WordPress site. The exact path may vary depending on your setup.
$ cd ~/public_html
Then create a compressed archive which contains all the files in the root directory using tar command.
One useful option to use is "--exclude=PATTERN", which allows you to exclude files/directories which you do not want to include in the TAR archive. You can repeat this option as many time as you want. For example, you can exclude the wp-content/cache directory which is used by different plugins to hold temporarily cached files for speedup purposes. You can also exclude any plugins/themes (e.g., wp-content/plugins/unused_plugin) you do not and will not plan to use.
The following command creates a bzip-compressed archive of the root directory of your WordPress site, excluding the WordPress cache directory.
$ tar -jcvf ../backup.tar.bz2 --exclude='wp-content/cache/*' .
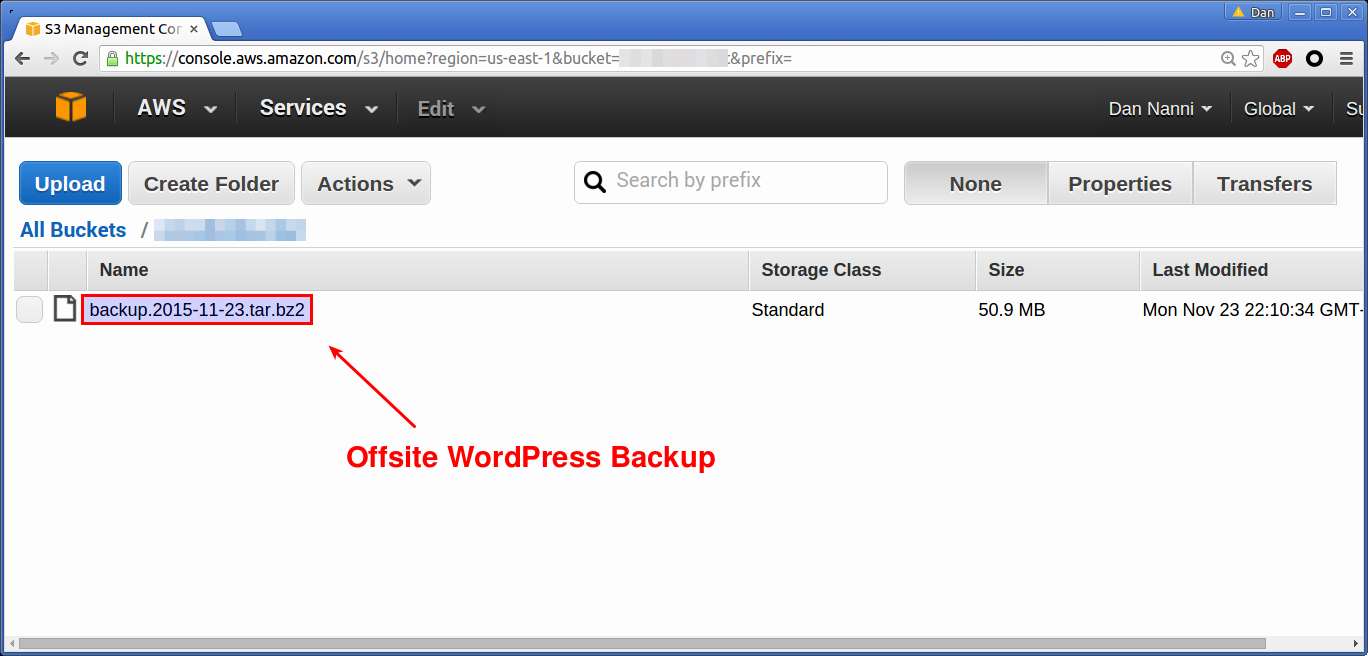
Store a WordPress Backup at Off-site Cloud Storage
Once a backup archive is created, it is best to store the archive at a remote location off of the hosting server to prevent any accidental data loss. An affordable option for offsite backup is cloud storage. For example, Dropbox offers 2GB of free space, while Amazon S3 gives away 5GB via AWS Free Usage Tier.
Here I demonstrate how to upload a WordPress backup archive to both Dropbox and Amazon S3.
Upload to Dropbox Cloud Storage
If you want to use Dropbox as a WordPress backup repository, you can use "Dropbox Uploader" shell script. Simply follow the procedure to download the script and authorize it to access your Dropbox account. Then use the following command to upload a WordPress backup file to Dropbox. I assume that you already created a folder called Backup in your Dropbox account.
$ ./dropbox_uploader.sh upload backup.tar.bz2 Backup
Upload to Amazon AWS S3 Storage
If you prefer AWS S3 as a WordPress backup storage, here is the shell script to upload to AWS S3 (credit goes to Blargh!). Replace bucket, s3Key and s3Secret with your own information.
file=backup.tar.bz2
bucket="xmodulobucket"
s3Key="XXXXXXXXXXXXXXXXXXX"
s3Secret="YYYYYYYYYYYYYYYYYYYYY"

resource="/${bucket}/${file}"
contentType="application/x-compressed-tar"
dateValue=`date -R`
stringToSign="PUTnn${contentType}n${dateValue}n${resource}"
signature=`echo -en ${stringToSign} | openssl sha1 -hmac ${s3Secret} -binary | base64`
curl -X PUT -T "${file}"
  -H "Host: ${bucket}.s3.amazonaws.com"
  -H "Date: ${dateValue}"
  -H "Content-Type: ${contentType}"
  -H "Authorization: AWS ${s3Key}:${signature}"
  https://${bucket}.s3.amazonaws.com/${file}
Note that this script requires curl and openssl installed.
Full Scripts for Remote WordPress Backup
For you to easily apply what I have shown so far, here are the full WordPress backup scripts. Each script creates a bzip-compressed backup of your WordPress site including its database, and uploads the archive to either Dropbox or Amazon AWS S3. For daily backups, the created backup archive is named after the current date.
WordPress Backup to Dropbox
#!/bin/sh

# MySQL information: replace it with your own
hostname=localhost
username=MY_USER
password=MY_PASS
database=MY_DB

# Dropbox information: replace it with your own
dropbox_uploader="~/bin/dropbox_uploader.sh"
dropbox_folder="Backup"

cur=`date +"%Y-%m-%d"`
dbfile=db.$cur.sql
wpfile=backup.$cur.tar.bz2

cd ~/public_html

echo "back up database"
mysqldump --add-drop-table -h$hostname -u$username -p$password $database > db.$cur.sql

echo "compress database"
bzip2 $dbfile

echo "back up wordpress"
tar -jcvf ../$wpfile --exclude='wp-content/cache/*' .

echo "transfer to dropbox"
$dropbox_uploader upload ../$wpfile $dropbox_folder

echo "done!"
WordPress Backup to Amazon AWS S3
#!/bin/sh

# MySQL information: replace it with your own
hostname=MY_HOST
username=MY_USER
password=MY_PASS
database=MY_DB

# AWS S3 information: replace it with your own
bucket=MY_BUCKET
s3Key=MY_S3_KEY
s3Secret=MY_S3_SECRET

cur=`date +"%Y-%m-%d"`
dbfile=db.$cur.sql
wpfile=backup.$cur.tar.bz2

cd ~/public_html

echo "back up database"
mysqldump --add-drop-table -h$hostname -u$username -p$password $database > db.$cur.sql

echo "compress database"
bzip2 $dbfile

echo "back up wordpress"
tar -jcvf ../$wpfile --exclude='wp-content/cache/*' .

echo "transfer to s3"
resource="/${bucket}/${wpfile}"
contentType="application/x-compressed-tar"
dateValue=`date -R`
stringToSign="PUTnn${contentType}n${dateValue}n${resource}"
signature=`echo -en ${stringToSign} | openssl sha1 -hmac ${s3Secret} -binary | base64`
curl -X PUT -T "../${wpfile}"
  -H "Host: ${bucket}.s3.amazonaws.com"
  -H "Date: ${dateValue}"
  -H "Content-Type: ${contentType}"
  -H "Authorization: AWS ${s3Key}:${signature}"
  https://${bucket}.s3.amazonaws.com/${wpfile}

echo "done!"
To make WordPress backup a daily routine, you can set up a daily cron job to execute either script on a daily basis.
Conclusion
Regular website backup goes a long way to protect your long-term investment in your website. In this tutorial, I present a way to back up a WordPress website to remote cloud storage such as Dropbox and AWS S3.
Another approach to WordPress backup is performing a full backup followed by rsync-based incremental backups. During incremental backups, only changes made to your WordPress site (e.g., newly created, modified or deleted files) since the latest backup are archived. The incremental backups can save disk space (and bandwidth for offsite backup) if your website rarely gets updated. The price you pay however is when you want to "restore" a backup. You would have to have the last full backup and "every" incremental backup in-between, and restore them one by one in exact sequence. Also, the remote storage would need to talk the rsync protocol, which is not the case for existing cloud storage.
I personally prefer full WordPress backup to incremental snapshots due to the simplicity of the former. But everyone is entitled to his or her own opinion so feel free to share yours. Happy backup!
Support Xmodulo
This website is made possible by minimal ads and your gracious donation via PayPal or credit card
Please note that this article is published by Xmodulo.com under a Creative Commons Attribution-ShareAlike 3.0 Unported License. If you would like to use the whole or any part of this article, you need to cite this web page at Xmodulo.com as the original source.

Xmodulo © 2021 ‒ About ‒ Write for Us ‒ Feed ‒ Powered by DigitalOcean