How to edit your documents collaboratively on Linux
Last updated on August 19, 2020 by Tatiana Kochedykova
"Developed many years before by some high-strung, compulsive assistant, the Bulletin was simply a Word document that lived in a shared folder both Emily and I could access. Only one of us could open it at a time and add a new message, thought, or question to the itemized list. Then we'd print out the updated version and place it on the clipboard that sat on the shelf over my desk, removing the old ones as we went." ("The Devil Wears Prada" by Lauren Weisberger)
Even today such a "collaborative editing" is in use where only one person can open a shared file, make changes to it, and then inform others about what and when was modified.
ONLYOFFICE is an open source online office suite integrated with different management tools for documents, emails, events, tasks and client relations.
Using ONLYOFFICE office suite, a group of people can edit text, spreadsheet or presentation within a browser simultaneously. Leave comments directly in their document and interact with each other using the integrated chat. And, finally, save the document as a PDF file for further printing. As an added bonus, it gives the possibility to view the document history and restore the previous revision/version if needed.
In this tutorial, I will describe how to deploy your own online office suite using ONLYOFFICE Free Edition, an ONLYOFFICE self-hosted version distributed under GNU AGPL v3.
Installing ONLYOFFICE on Linux
ONLYOFFICE installation requires the presence of mono (version 4.0.0 or later), nodejs, libstdc++6, nginx and mysql-server in your Linux system. To simplify the installation process and avoid dependency errors, I install ONLYOFFICE using Docker. In this case there is only one dependency to be installed: Docker.
Just to remind, Docker is an open-source project that automates the deployment of applications inside software containers. If Docker is not available on your Linux system, install it first by referring to Docker installation instructions for Debian-based or Red-Hat based systems.
Note that you will need Docker 1.4.1 or later. To check the installed Docker version, use the following command.
$ docker version
To try ONLYOFFICE inside a Docker container, simply execute the following commands:
$ sudo docker run -i -t -d  --name onlyoffice-document-server onlyoffice/documentserver
$ sudo docker run -i -t -d -p 80:80  -p 443:443  --link onlyoffice-document-server:document_server onlyoffice/communityserver
These commands will download the official ONLYOFFICE Docker image with all dependencies needed for its correct work.
It's also possible to install ONLYOFFICE Online Editors separately on a Linux server, and easily integrate it into your website or cloud application via API provided.
Running a Self-Hosted Online Office
To open your online office, enter localhost (http://<IP-address>/) in the address bar of your browser. The Welcome page will open:
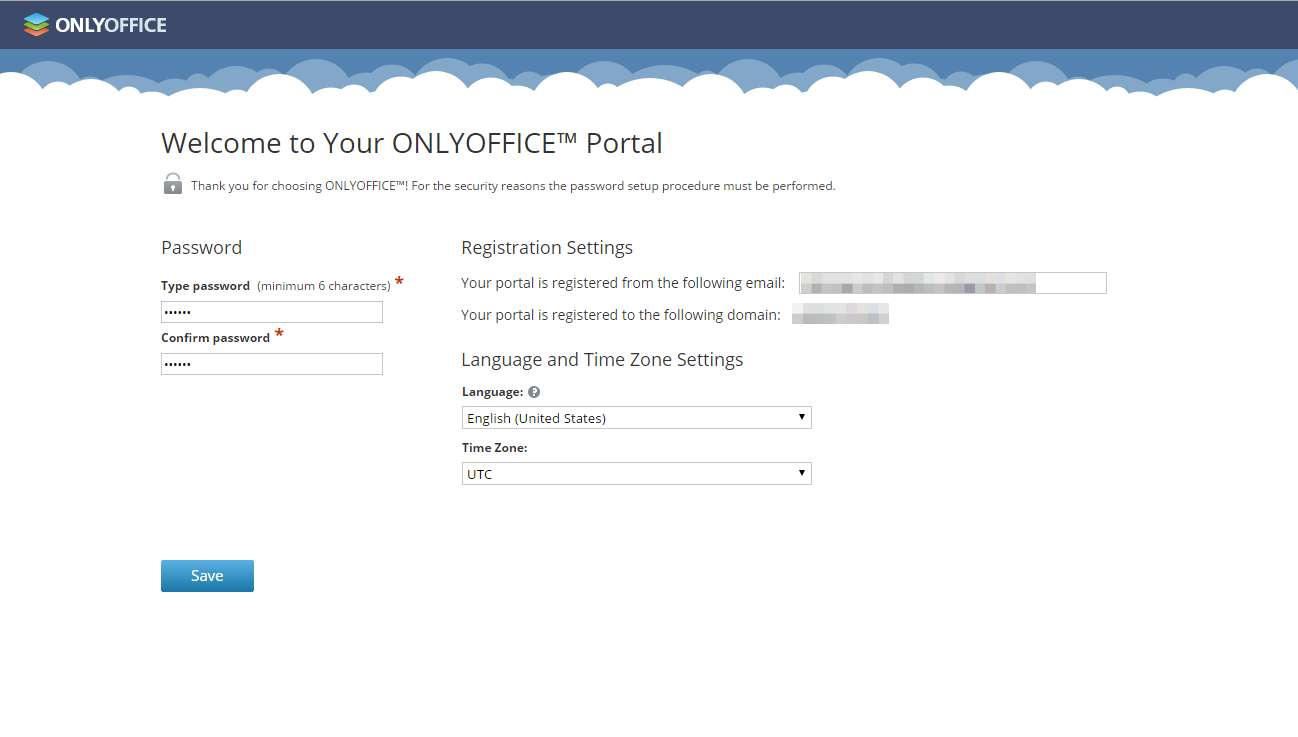
Enter a password and specify the email address you will use to access your office the next time.
Editing Your Documents Online
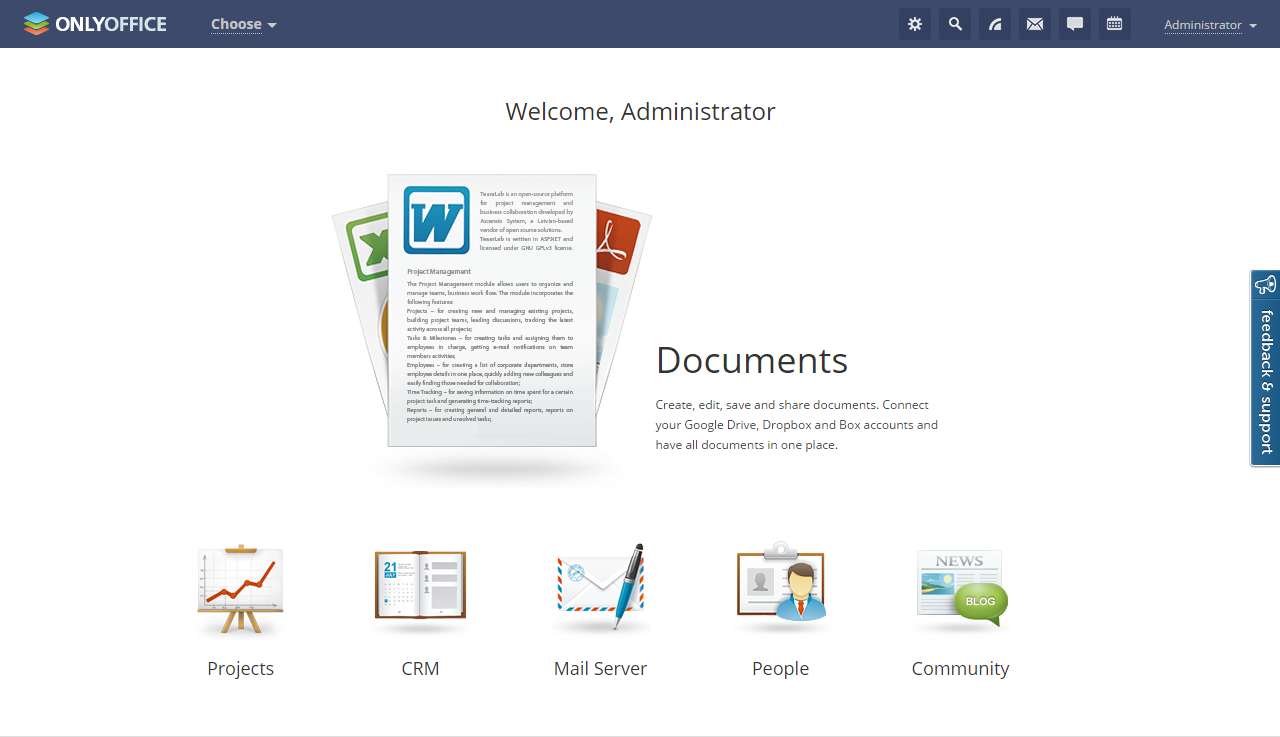
First, click the Documents link to open the My Documents folder.
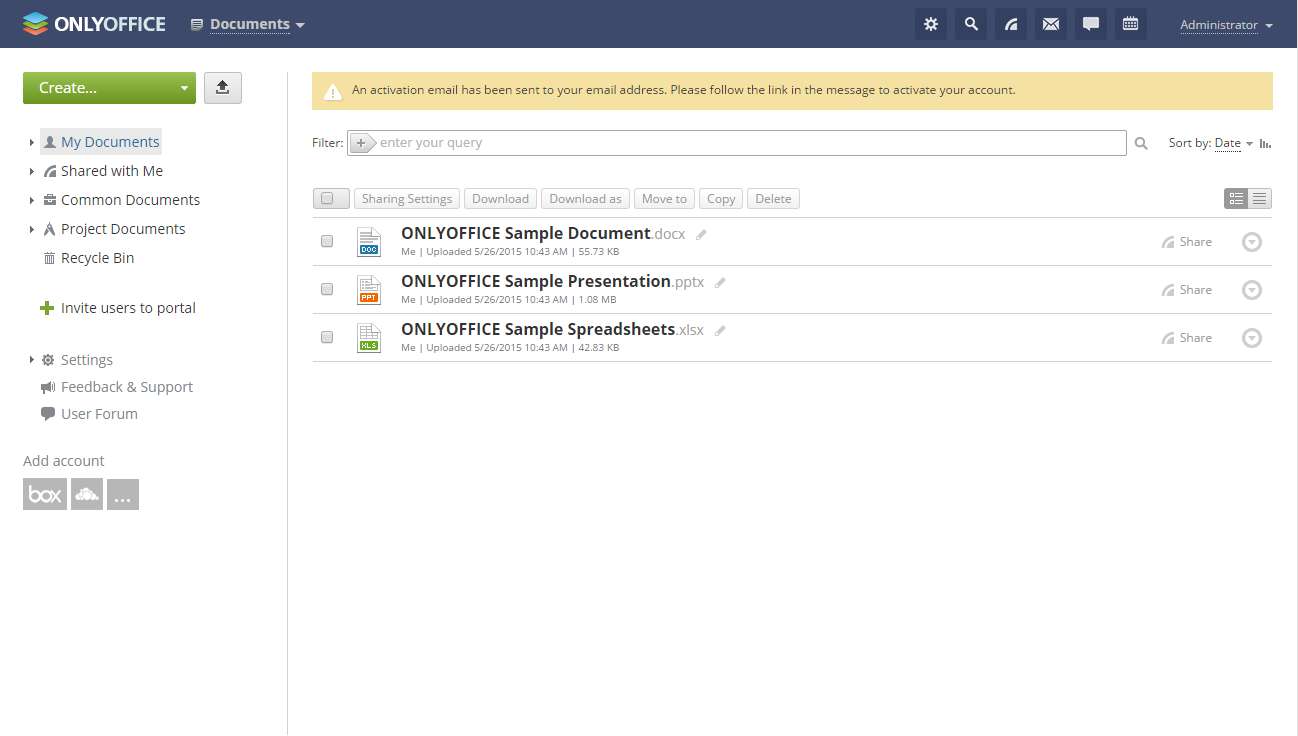
STEP 1. Select a Document to Edit
To create a new document right there, click on the Create button in the upper left corner, and choose the file type from the drop-down list. To edit a file stored on your hard disk drive, upload it to Documents clicking the Upload button next to Create button.
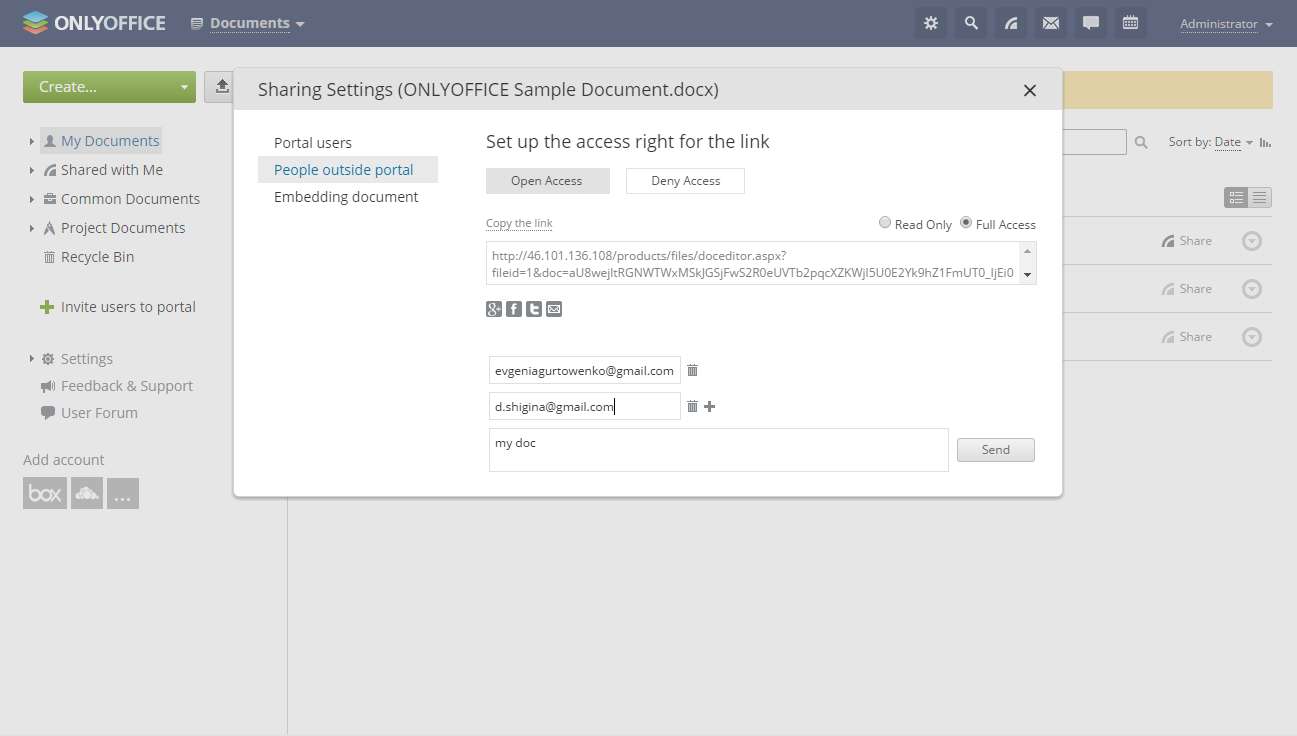
STEP 2. Share your Document
Use the Share button to the right side if you are in the My Documents folder, or follow File >> "Document Info" ... >> "Change Access Rights" if you are inside your document.
In the opened "Sharing Settings" window, click on the "People outside portal" link on the left, open the access to the document, and give full access to it by enabling the "Full Access" radio button.
Finally, choose a way to share the link to your document, send it via email or one of the available social networks: Google+, Facebook, or Twitter.
STEP 3. Start the Collaborative Editing
To start co-editing the document, the invited person just needs to follow the provided link.
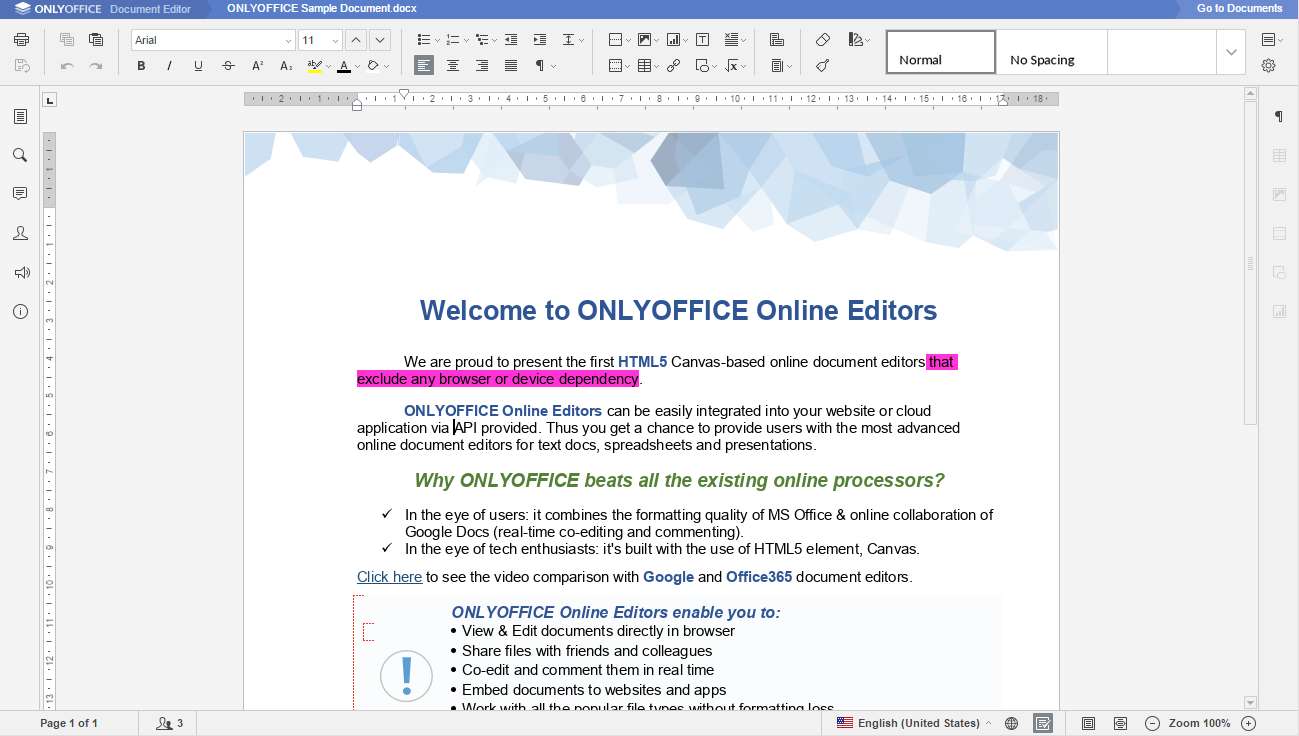
The text passages edited by your co-editors will be automatically marked with dashed lines of different colors.

As soon as one of your collaborators saves his/her changes, you will see a note appearing in the left upper corner of the top toolbar, indicating that there areupdates.
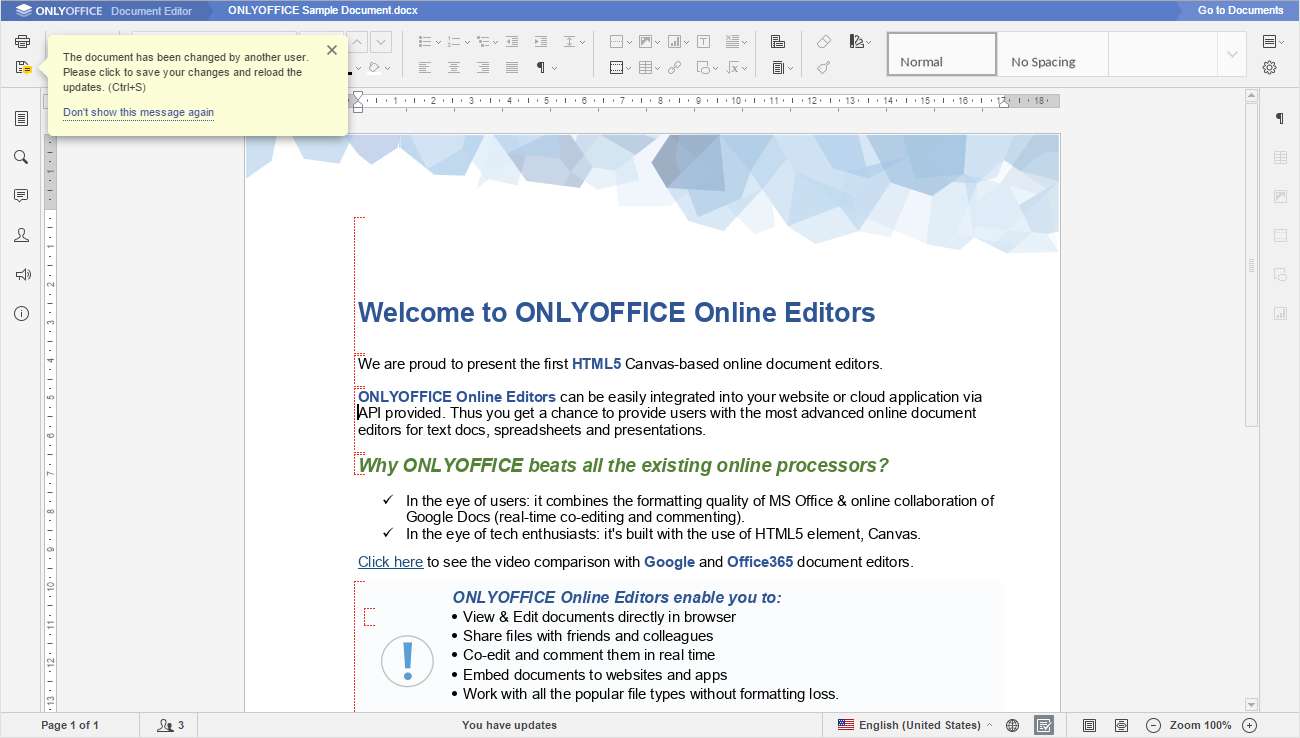
To save your changes and get updates, click on the Save icon. All the updates will then be highlighted.
STEP 4. Interact with your Co-editors
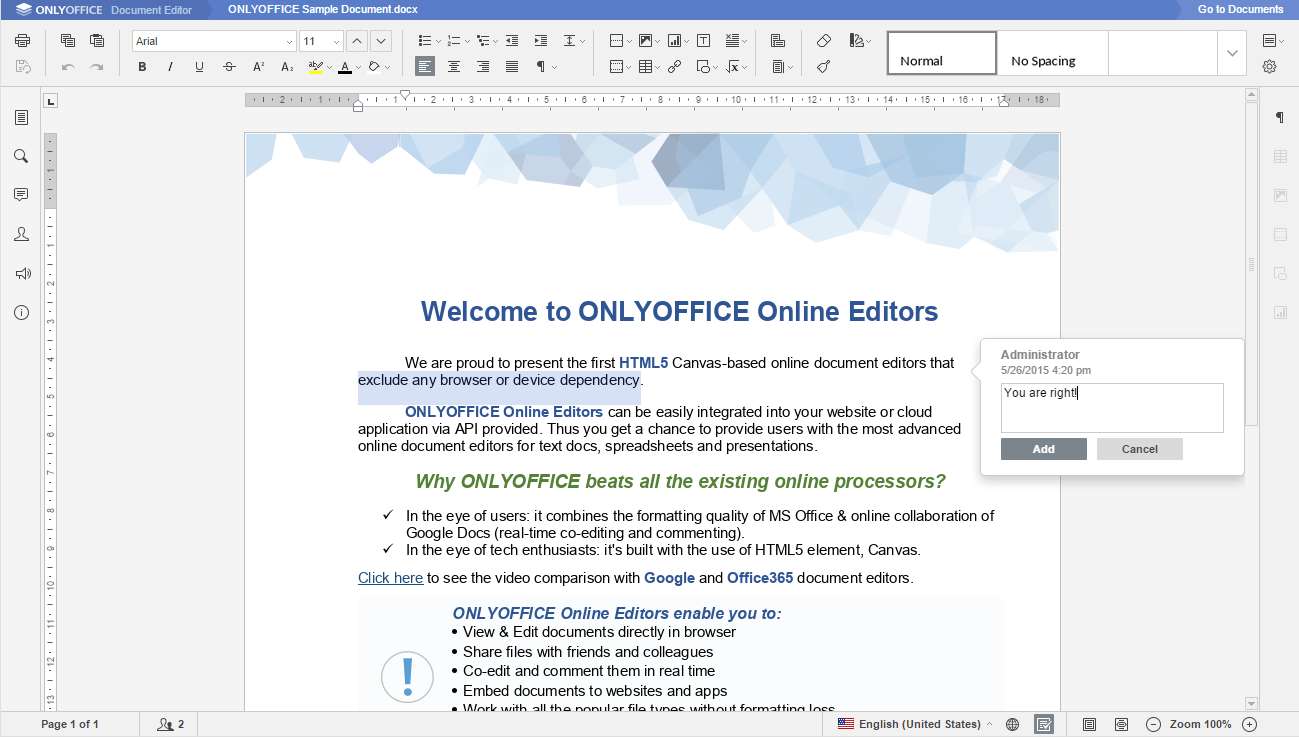
To leave some comments, select a text passage with the mouse, right-click on it and, and choose the "Add comment" option from the context menu.
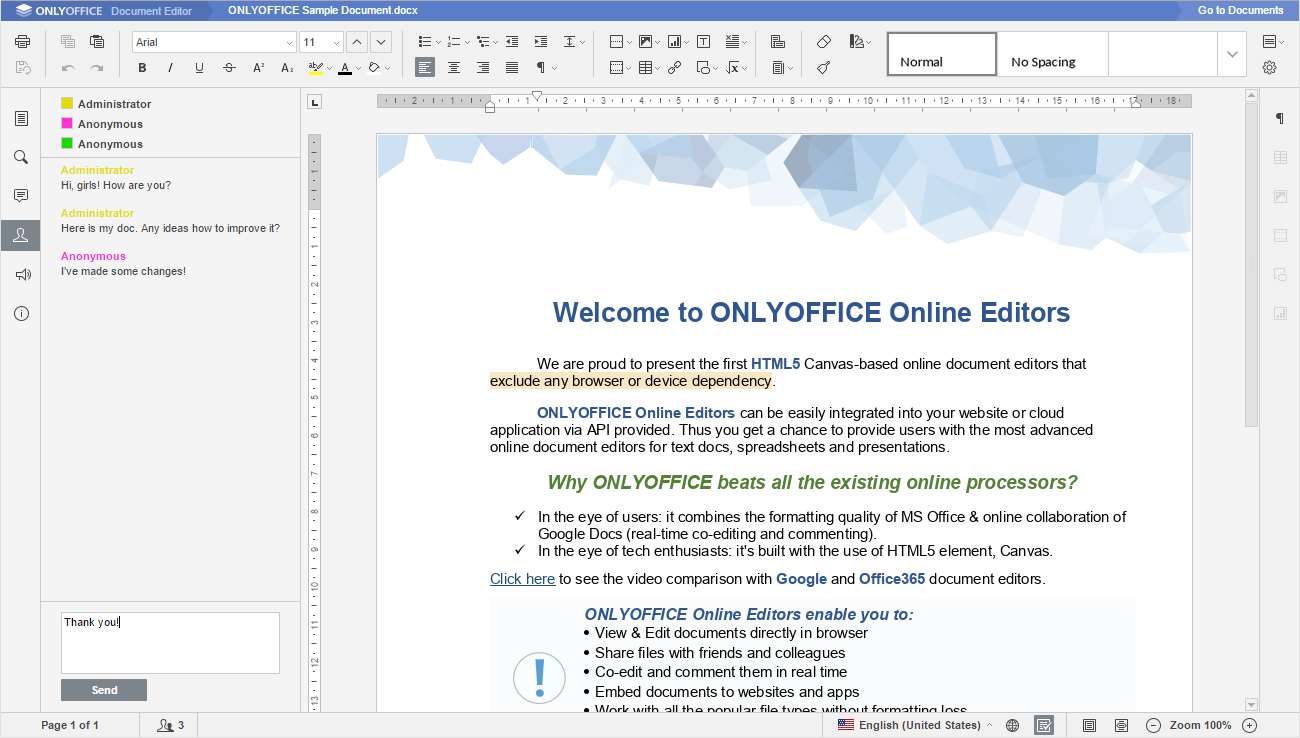
To interact with co-editors in real time, use the integrated chat instead. All the users who currently edit the document will be listed on the Chat panel. To open it, click on the Chat icon at the left-side bar. To start a discussion, enter your message into an appropriate field on the Chat panel.
Useful Tips
As final notes, here are some useful tips for you to take full advantage of ONLYOFFICE.
Tip #1. Editing your Docs from Cloud Storage Services, Like ownCloud
If you store your documents in other web resources like Box, Dropbox, Google Drive, OneDrive, SharePoint or ownCloud, you can easily synchronize them with the ONLYOFFICE.
In the opened Documents module, click one of the icons under the "Add the account" caption: Google, Box, DropBox, OneDrive, ownCloud or "Add account", and enter the requested data.
Tip #2. Editing Your Docs on iPad
To add some changes to your document on the go, I use ONLYOFFICE Documents app for iPad. You can download and install it from iTune, then you need to enter your ONLYOFFICE portal address, email and password to access your documents. The feature set is almost the same.
To evaluate ONLYOFFICE Online Editors features, you can use the cloud version for personal use.
Support Xmodulo
This website is made possible by minimal ads and your gracious donation via PayPal or credit card
Please note that this article is published by Xmodulo.com under a Creative Commons Attribution-ShareAlike 3.0 Unported License. If you would like to use the whole or any part of this article, you need to cite this web page at Xmodulo.com as the original source.

Xmodulo © 2021 ‒ About ‒ Write for Us ‒ Feed ‒ Powered by DigitalOcean