How to configure virtual hosts in Apache HTTP server
Last updated on September 25, 2020 by Dan Nanni
Virtual hosting refers to the technique that allows a physical server to host more than one website domain (e.g., site1.com, site2.com). Virtual hosting is prevalent in shared web hosting environments, where typically hundreds or more of websites or blogs are packed on a single dedicated server to amortize server maintenance cost.
You are not a web hosting company? Sure, virtual hosting can still be useful to you. For example, you can place multiple websites of yours on one virtual private server (VPS) that you rent out, saving on your VPS cost. To serve multiple domains on a VPS, you just need to configure as many virtual hosts on its web server, and point the domains to the static IP address of your VPS.
Due to its usefulness, virtual hosting is supported by all modern web server software such as Apache, Nginx, Lighttpd, IIS. In this tutorial, I will demonstrate how to create and enable virtual hosts in Apache HTTP server under Linux environment. There is slight difference in the configuration between Debian-based and Red Hat-based systems. I will highlight the difference along the way.
Before I start, I assume that Apache HTTP server is already installed on your Linux server. If you haven't, refer to our tutorials for Debian or Red Hat based systems, and install Apache server before proceeding.
As an exercise, let's create a virtual host for domain abc.com on Apache web server.
Step One: Create Document Root Directory for Domain abc.com
Start by creating a directory which will hold the web pages for abc.com. This directory is known as document root for the domain. Following the common practice, let's organize all document root directories under /var/www, and name them after the corresponding domains. Also, create a dedicated log directory for abc.com under /var/log.
$ sudo mkdir /var/www/abc.com
$ sudo mkdir /var/log/apache2/abc.com (Debian, Ubuntu, Mint)
$ sudo mkdir /var/log/httpd/abc.com (Fedora, CentOS, RHEL)
Create a test webpage for the domain:
$ sudo vi /var/www/abc.com/index.html
<html>
  <head>
    <title>Welcome to Abc.com</title>
  </head>
  <body>
    <h1>Sample page</h1>
    This page is powered by Apache Virtual Host!
  </body>
</html>
Change the ownership of the document root directory to the user that Apache web server runs as.
On Debian, Ubuntu or Linux:
$ sudo chown -R www-data:www-data /var/www/abc.com
On Fedora, CentOS or RHEL:
$ sudo chown -R apache:apache /var/www/abc.com
Step Two: Create a Virtual Host File
The next step is to create a virtual host configuration file for abc.com. The name of each configuration file must end with .conf. The most common location to place virtual host configurations is as follows.
- Debian, Ubuntu or Linux Mint:
/etc/apache2/sites-available/ - Fedora, CentOS or RHEL:
/etc/httpd/conf.d
Let's create a virtual host file for abc.com.
On Debian, Ubuntu or Linux Mint:
$ sudo vi /etc/apache2/sites-available/abc.com.conf
On Fedora, CentOS or RHEL:
$ sudo vi /etc/httpd/conf.d/abc.com.conf
Here is what a sample virtual host file looks like.
On Debian, Ubuntu or Linux Mint:
<VirtualHost *:80>
    ServerName abc.com
    ServerAlias www.abc.com
    ServerAdmin [email protected]
    DocumentRoot /var/www/abc.com
    CustomLog /var/log/apache2/abc.com/access.log common
    ErrorLog /var/log/apache2/abc.com/error.log
</VirtualHost>
On Fedora, CentOS or RHEL:
<VirtualHost *:80>
    ServerName abc.com
    ServerAlias www.abc.com
    ServerAdmin [email protected]
    DocumentRoot /var/www/abc.com
    CustomLog /var/log/httpd/abc.com/access.log common
    ErrorLog /var/log/httpd/abc.com/error.log
</VirtualHost>
Most importantly, the DocumentRoot field must point to the correct document root directory we created earlier. Also, domain name should be specified with ServerName directive. Optionally, an alternate name can be specified with ServerAlias. Using CustomLog and ErrorLog directives, you can create designated access/error logs for this domain.
If you want to assign a distinct IP address (e.g., 172.20.30.41) to the domain, you can replace <VirtualHost *:80> with <VirtualHost 172.20.30.41:80>. Depending on your use case, you can further customize the configuration file with other directives available in Apache server.
Debian-based systems only (Debian, Ubuntu or Mint): After creating a virtual host configuration, you need to explicitly enable it.
$ sudo a2ensite abc.com.conf
Step Three: Reload Apache HTTP Server
Once a new virtual host configuration is created, it's recommended to check the configuration for syntax. The following command will detect any syntax error in your configuration.
On Debian, Ubuntu or Linux Mint:
$ apache2ctl -t
On Fedora, CentOS or RHEL:
$ httpd -t
If there is no syntax error in the configuration, you will see Syntax OK output.

After syntax check is done, don't forget to reload Apache server, so that the new configuration takes effect:
On Debian, Ubuntu or Linux Mint:
$ sudo service apache2 reload
On Fedora, CentOS or RHEL:
$ sudo systemctl reload httpd.service
Step Four: Adjust Firewall
This is an optional step needed in case you are running a firewall with default DROP policy on your server (e.g., Red Hat based systems). With firewall up and running, you need to open up the HTTP port used by the virtual host.
If you are using iptables:
$ sudo iptables -A INPUT -p tcp -m tcp --dport 80 -j ACCEPT
$ sudo /etc/init.d/iptables save
If you are using FirewallD (e.g., CentOS 7+ or Fedora):
$ sudo firewall-cmd --permanent --zone=public --add-service=http
$ sudo firewall-cmd --reload
Step Five: Configure DNS for Virtual Host
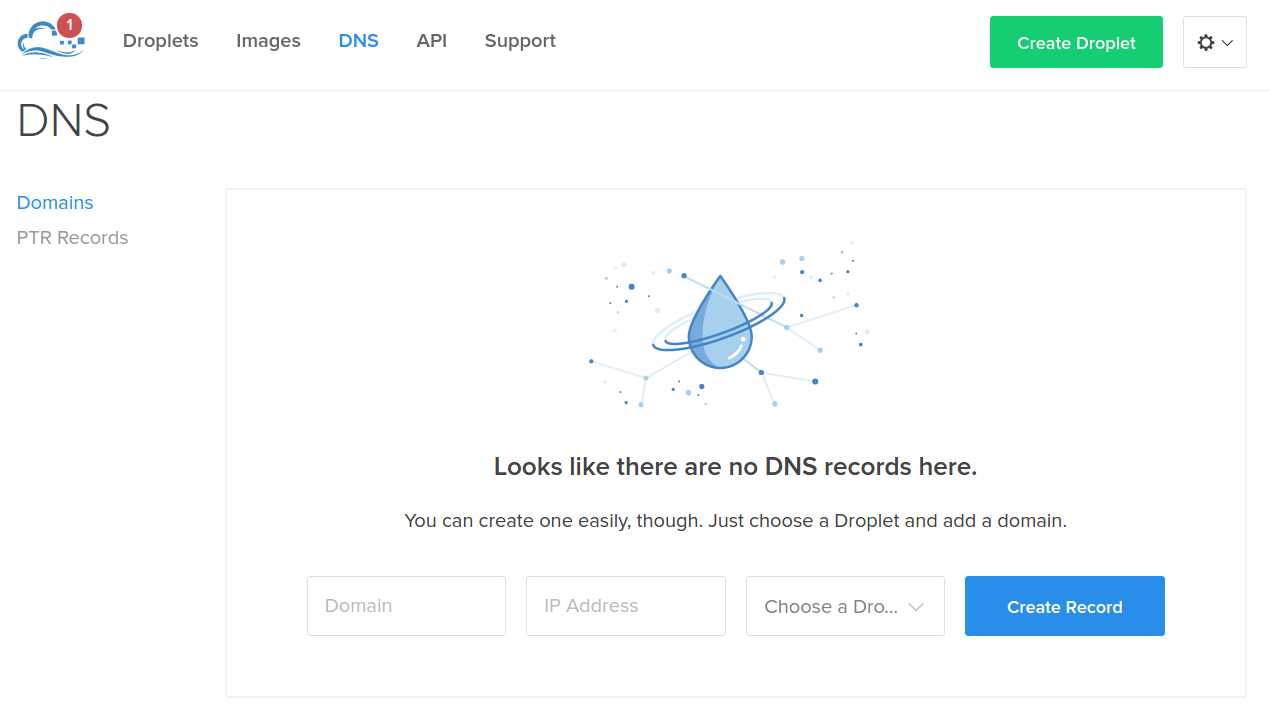
Finally, you need to point abc.com to the IP address of the web server. This can be done by adding a corresponding DNS record (aka "A record") to the DNS server of the entity that distributes the IP address. The actual step varies by who distributes the IP address. If you obtain an IP address from a VPS company, the company should provide a way to register "A record" for the domain you are assigning to your VPS. For example, Digital Ocean offers the following interface:
If you simply want to test a new virtual host without creating a DNS record for abc.com, one easy way is to add domain-to-IP mapping to /etc/hosts.
That is, on a client computer that you want to access abc.com website from, open /etc/hosts and add the following line.
<apache-ip-address> abc.com
This essentially tricks the client computer into thinking that abc.com exists, and that it is mapped to <apache-ip-address> without you having to set up a public DNS record for abc.com.
Now on the client computer, open a web browser window, and go to http://abc.com. If everything works, this will direct you to the test page for abc.com we created.

Conclusion
In this tutorial, I showed the step-by-step procedure to create and enable a virtual host on Apache HTTP server. You can easily repeat the process for as many domains as you want on the same server. As you can see, virtual hosting is quite an attractive feature, giving you the ability to host multiple domains, while fully customizing the configuration of each domain on a single web server.
If you are in a situation where you need to frequently add or remove virtual hosts on your VPS web server, consider using one of those fancy hosting control panels (e.g., Ajenti), which allows you to provision and manage virtual hosts in a streamlined interface.
Support Xmodulo
This website is made possible by minimal ads and your gracious donation via PayPal or credit card
Please note that this article is published by Xmodulo.com under a Creative Commons Attribution-ShareAlike 3.0 Unported License. If you would like to use the whole or any part of this article, you need to cite this web page at Xmodulo.com as the original source.

Xmodulo © 2021 ‒ About ‒ Write for Us ‒ Feed ‒ Powered by DigitalOcean